LAB 5 - Jesse and Shingo CS40/ENGR26
LAB DESCRIPTION
In this lab, we implemented hierarchial modeling using modules. When drawing several
copies of the same object, say Starship Enterprise, it does not make sense to draw
each individual piece (engine, cockpit etc) every time we draw the Enterprise. Instead,
we can create a module called Starship Enterprise, and add instructions as to how to
draw the module. After that, everytime we want to draw the Enterprise we simply have
to draw the module, not individual pieces.
We implement the module as a linked list of elements. Element has three fields: type,
object and a pointer to the next item in the linked list. We define the object to be
a union struct, thus allowing us to store any predefined type variable into that space
(point, polygon, matrix, etc). An element can also be a module, which can be thought of
as going into the "child" module. When creating a module, every command goes into the
Element chain, including the transformation matrices. That way, we can apply the
local transformation matrix (LTM) at the time of drawing the module. When adding a
new element to the chain, we apply a switch on the Element's type, and process
accordingly.
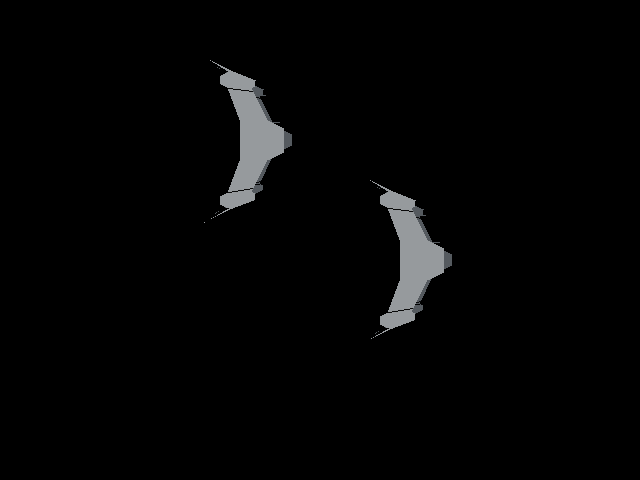
Required image 1: test code
 |
|
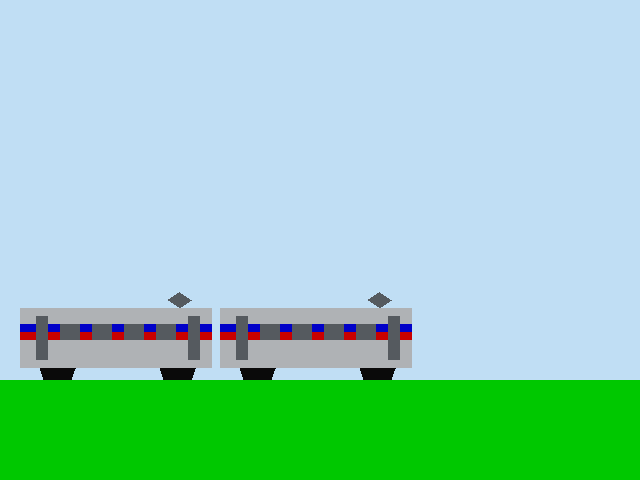
Required image 2: Hierarchial Model Train
 |
|
QUESTIONS
- Describe the operation of your DrawStructure routine.
When drawing the module, we basically traverse the Element chain. Everytime we see a
primitive type (poing, line, polygon etc) we apply the VTM, GTM and the LTM and draw.
Whenever we see a transformation matrix, we multiply that onto the LTM. If we see the
"identity" command, we set the LTM back to identity matrix. If we see a module, we
store the current state of the GTM (in case GTM gets manipulated in the child module)
and recursively call Module_draw. We repeat the process until every element in the
chain has been traversed.
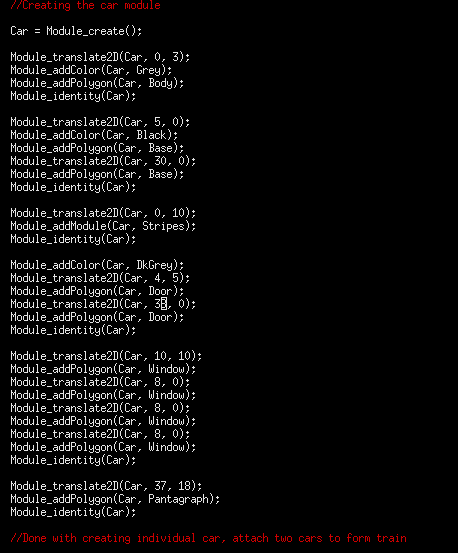
- Describe how you made use of hierarchical modeling when you made one or more of your images. Show the code for your main program where you create the module, and then somehow show a representation of the module as a graph.
The main feature of our images is the SEPTA train. We created a module that corresponds
to the individual car. The car contains pieces such as windows and doors, and also
another module, stripes (which is simply two colored rectangles). Once we create a car,
it is easy to join them together, forming another module called "train". This train
module could have had as many linked cars as we wanted. We also made the background
into a module, so it will later allow us to simply draw the background module instead of
ground and the sky when we do animations (see question 3).
Code for creating module
 |
Hierarchial tree
 |
- If you extended this assignment in any way, describe what you did and how you did it. Include pictures, or links to pictures that show what you did.
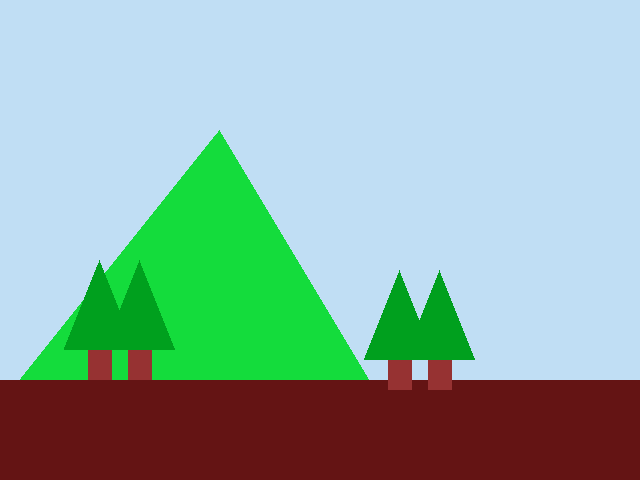
We created an animation using the modules, in which the SEPTA train runs across the
field. We clamped the field, the sky, the mountain and the trees into the background
module so we can simply draw them onto the image for every frame. We also created the
foreground module (two trees on the right) for anything we wanted to keep in front
of the SEPTA train.
SEPTA running on countryside
 |