A sample commandline entry looks as follows:
./blue ../images/fg.ppm ../images/bg.ppm 40 60 140 70 70 80
The program will consdier any pixel (R, G, B) where
(40 +- 35 = 5 - 75, 60 +- 35 = 25 - 95, 140 +- 40 = 100 - 180)
to be "blue".
| HOME | Lab1 | Lab2 | Lab3 | Lab4 | Lab5 | Lab6 | Lab7 | Lab8 | Lab9 | Lab10 | CODE |
| Jesse's Portfolio | Shingo's Portfolio |
LAB DESCRIPTIONS
This lab consisted of two separate parts:
The first part involved reading, writing and manipulating images.
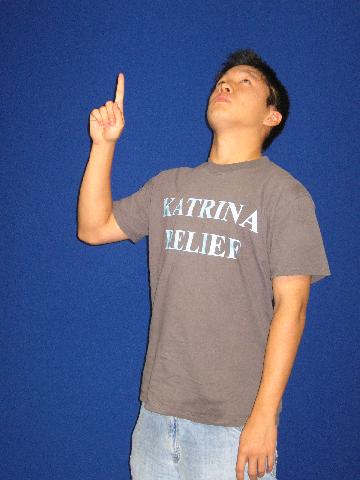
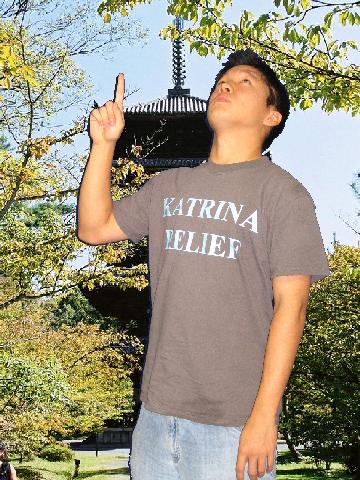
We took pictures of ourselves in front of the blue background
with the intention of replacing the background picture with
some other image. This required reading in two images, a foreground
and a background. We stored them in two separate arrays, with each
element in the array corresponding to each pixel (amount of red,
amount of green, and amount of blue). We then create a blank image
and try to fill them with colors. For non-overlapping regions, we
simply copy the pixel from the background. For overlapping regions,
we determine whether if the foreground pixel should be considered
"blue". For every image, the shades of blue are different. But within
the image, the "blue" is relatively similiar, in terms of red, green
and blue values. Therefore, we created a function "blue" which takes
sample color values for the blue with tolerances for each red, green
and blue values. If the particular pixel fits that definition of
"blue", then we fill that pixel with the corresponding pixel in
the background. Otherwise, we take the pixel from the foreground.
We allow the user to define "blue" as command line arguments.
A sample commandline entry looks as follows:
./blue ../images/fg.ppm ../images/bg.ppm 40 60 140 70 70 80
The program will consdier any pixel (R, G, B) where
(40 +- 35 = 5 - 75, 60 +- 35 = 25 - 95, 140 +- 40 = 100 - 180)
to be "blue".
The second part of the lab dealt with Mandelbrot and Julia sets.
Mandelbrot and Julia sets reside in a complex plane, defined by
Zn+1 = Zn ^ 2 + C
where Z is a complex number. As we keep iterating this equation,
the number goes to one of the attractors, zero or infinity.
Depending on how quickly and to which attractor a particular
coordinate on the plane goes to, we can color the corresponding
pixel differently. For Mandelbrot set, we select Z0 = (0, 0),
and pick a C according to which pixel we are looking at. For
Julia sets, we hold C constant, and Z0 depends on the pixel
we are looking at. We allow the user to select which part of the
complex plane to look at, and also the size of the final image.
Given those numbers, we had to translate between the coordinates
of the image and the coordinates on the complex plane.
ANSWERS TO QUESTIONS
1. The picture of myself is 500*501 pixels. This can be determined by looking at the number of rows and columns when it is imported using readPPM, as rows and cols are passed as parameters. (This was not the picture actually used in manipulation)
2. The origin of a picture is the upper left, at least for the ppm's. This is determined by looping through the pixels in an image array and then writing them to an image. The first element in the array is the upper left. You could do this very simply with a 2x2 pixel picture with a different color for the first pixel. Or you could use a test image as we created which fades through RGB values. We wrote a nested for loop, which simply iterates through the Pixel array. We define red to be (height of image - current_row), green as current_col / 256, blue as current_row / 256. So when current_row and current_col are both 0, we should have (height of image, 0, 0), which should be red. The image does indeed have red at the top left corner (See image below)

3. The origin in xv seems to be at the left top corner as well. We clicked on the image on xv with the middle button, and top left was (0, 0)
4. To replace the blue pixels (chromakey) in our picture we scanned through the image and replaced all "Blue" pixels with pixels from a background image. Blue pixxels were defined by specifying average values in RGB and relative tolerances from those values. These values could be determined experimentally or by sampling pixels in a known blue region. The replacement worked fairly well, especially against high contrast colors such as skin tone. To check values and the operation of the method, we created a test image which fades through RGB values as described in question two. Running the program on this image shows the exact color region targeted as blue such as a rectangle. There was some "blue-spill" however. This could have been eliminated to some extent by a fancier way of defining blue such as with an ellipsoid. Feathering would also have helped.
5. We implemented shrink, flip_h (flip horizontally) and flip_v (flip vertically) functions. Shrinking is rather limited, as we simply take out every other pixel for 50% scaling, every three out of 4 pixels for 25%, and so on. We had an idea of losing every 10th pixel (shrinking by 10% at a time) to get close to the desired size, but that would have required a lot of iteration.
For horizontal flips, we created a new image of same size, and for every row, we simply copy from the right end of the image. Similarly, vertical flip copies pixel value from the opposite end of the vertical axis.
6. The Mandelbrot set demonstrated the translation of math to code and finally into a picture. The most fascinating part of this was the way the input parameters (C_X and C_Y) could by gradually varied to exhibit pictures that could morph.
7. For the Mandelbrot and Julia sets we experimented with simple binary schemes and fancier schemes in which different colors would be assigned depending on the ranges in which the values of the sets occured. We wanted to vary the colors depending on how many iterations it took to go to infinity, but most points crossed our thresholds quickly, thus not creating much color contrasts. We still use the number of iterations, but we divide by 5, and assign a color depending on the remainder. So our Mandelbrot and Julia sets have 5 different colors.
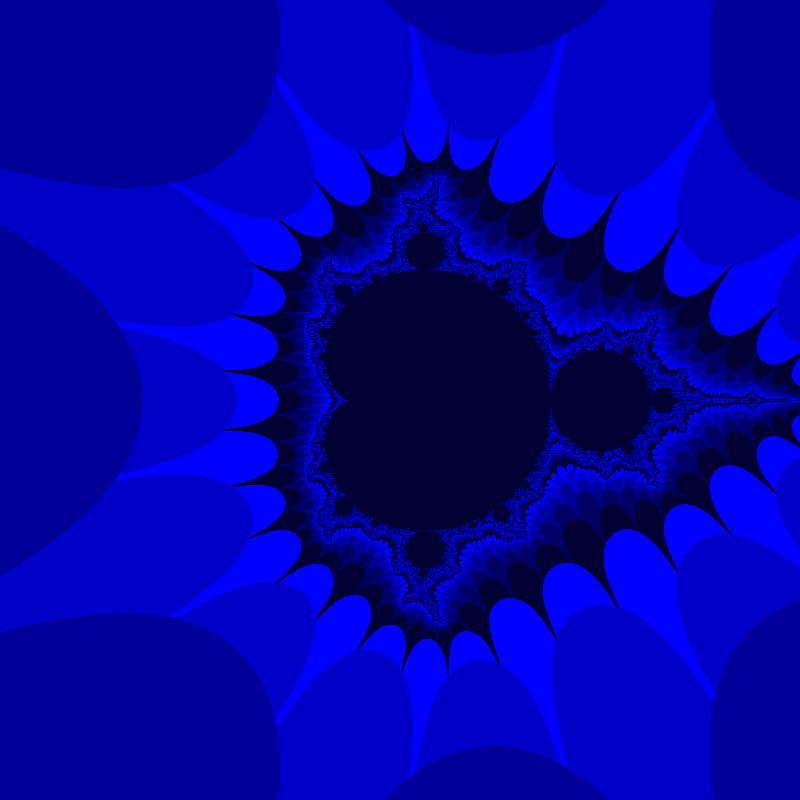
Mandelbrot set, from x = -2 to 2 and y = -2 to 2, 800 by 800.

Julia set, with C = 0.7454054 + i*0.1130063, x = -2 to 2, y = -2 to 2, 800 by 800
LAB EXTENSIONS
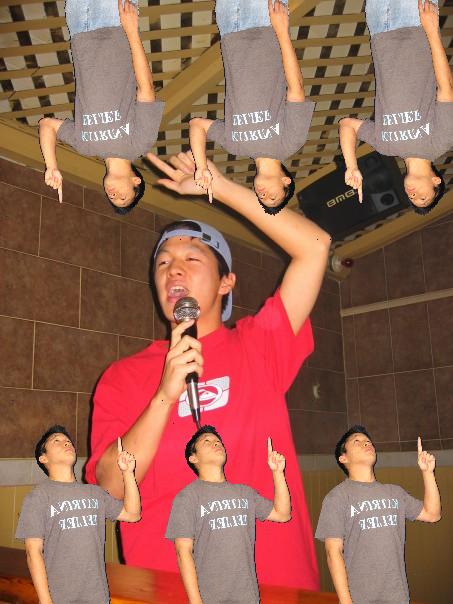
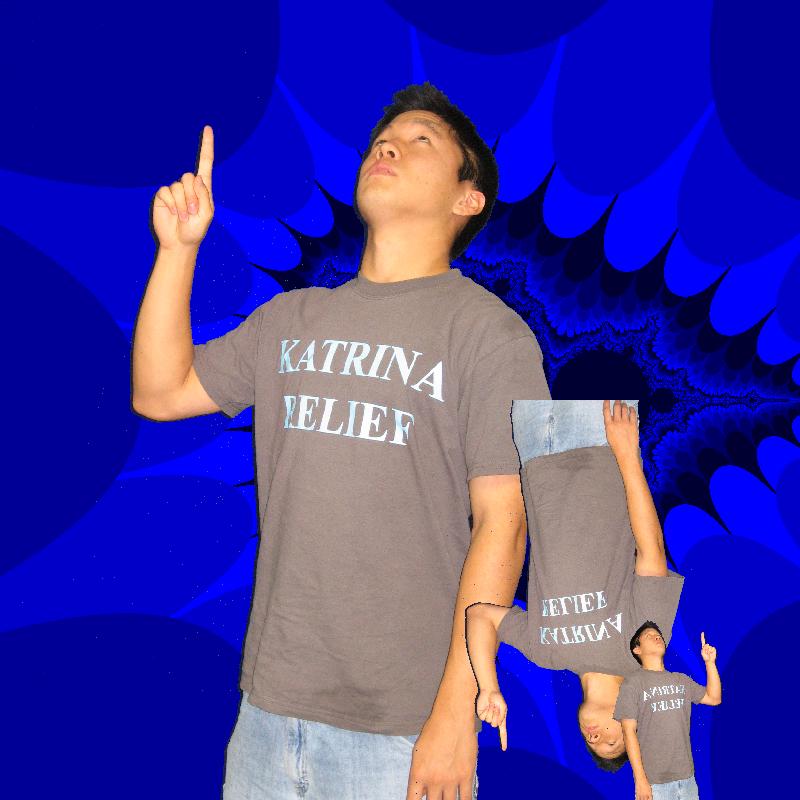
For the first part, we modified the code with the intent of giving the user utmost run-time flexibility. Instead of having him specify everything at the commandline, we instead prompt the user to select
-Location of the foreground (offset x, offset y)
-Scale of the foreground
-Flipping horizontally and vertically
after image editing is done, if the user elects to place multiple copies of the foreground image, the program goes up to top.
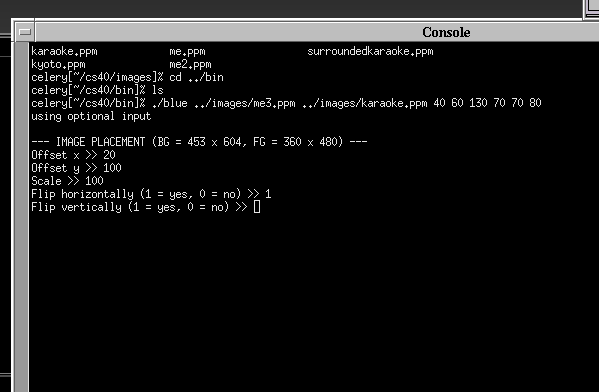
Here is an image, created using this feature:
For the second part, we messed around with the C constant of the Julia set to create intersting images.
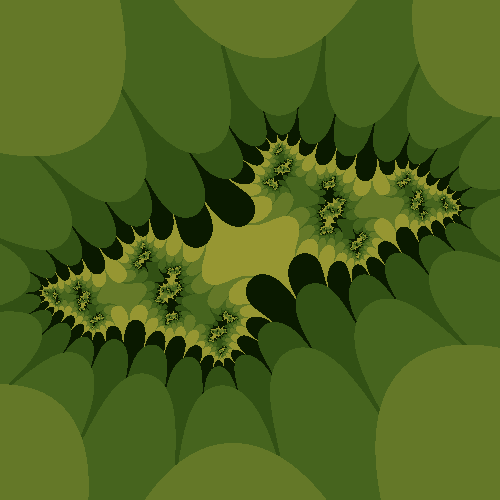
Julia set with C = .9753463 + j * .7345345, x = -2 to 2, y = -2 to 2, 500 by 500