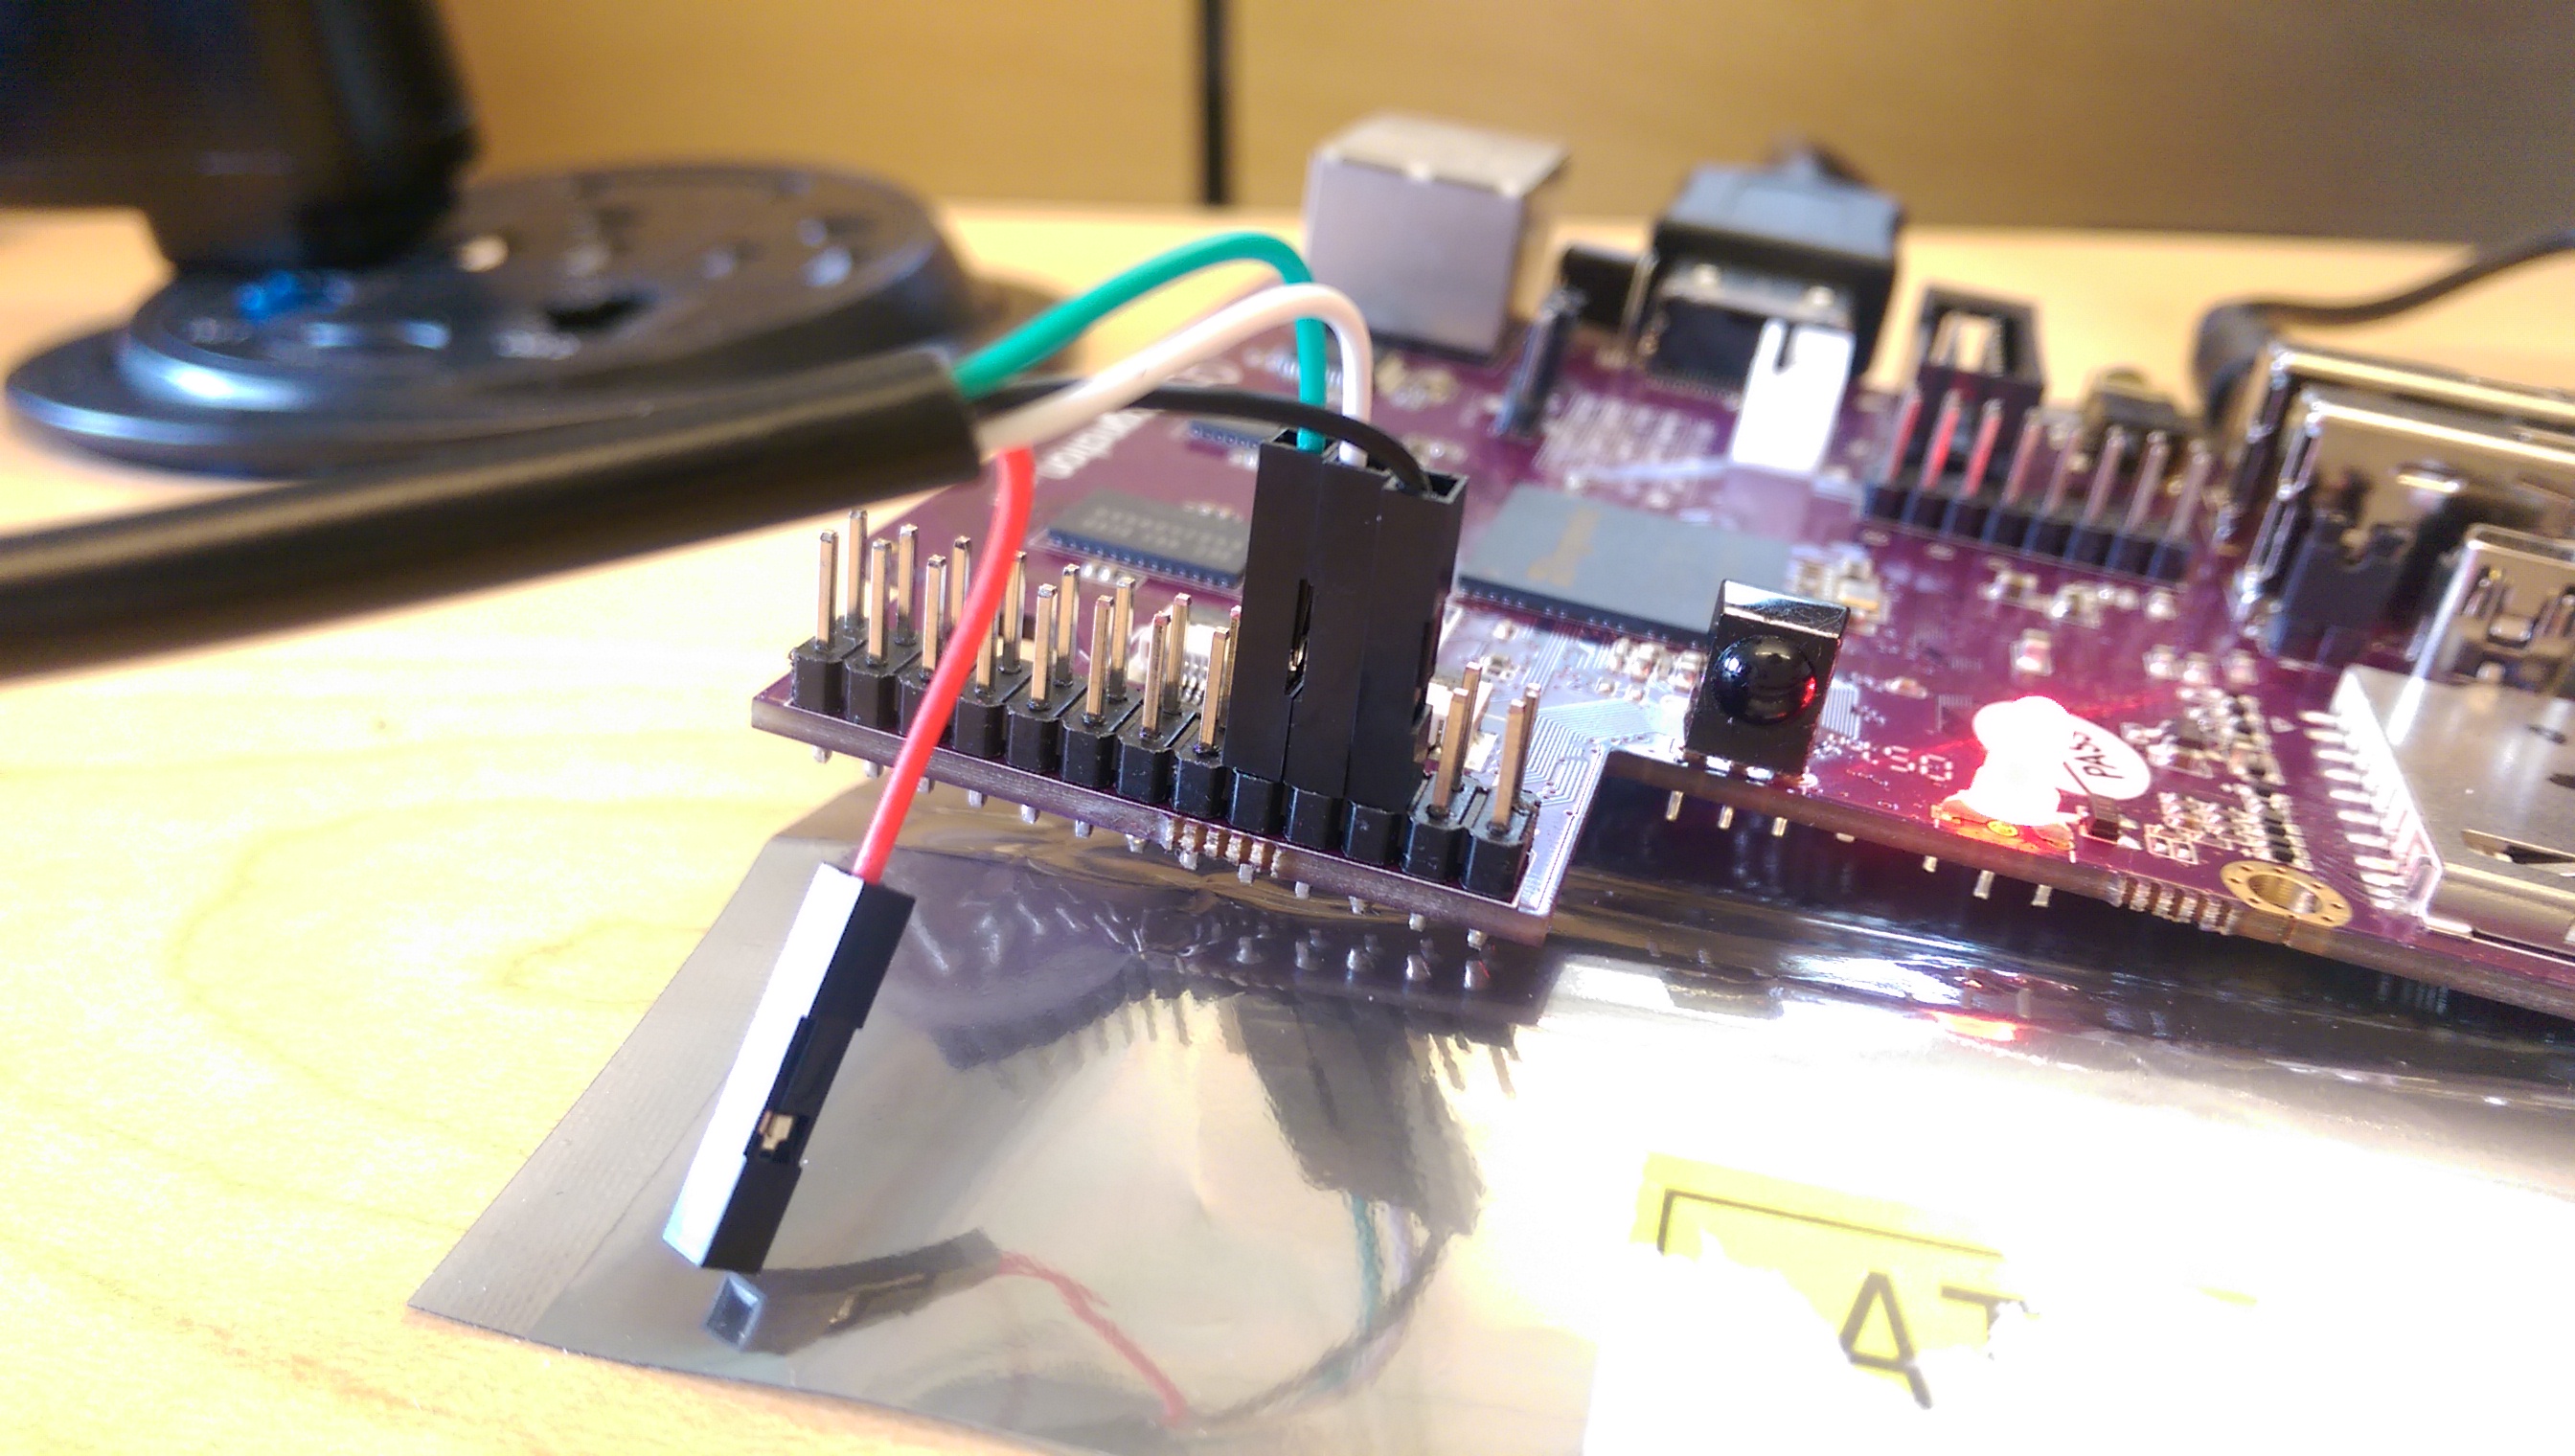
I’ve spent a ton of time working with this board, so I should probably share what I’ve learned.
If you’re going to be working headless, you’ll need a USB-to-TTL-to-UART cable. You can get them for just a few dollars on Amazon For the sake of brevity, I’ll refer to this as a “USB serial cable”, or just a “serial cable”.
Even if you only plan on using the default Debian install, it’s a good idea to have one of these. If, for example, a system upgrade goes awry, your chip is going to be bricked until you get one.
Here’s how you hook up a USB serial cable:

To power the board with the serial cable, attach the red (Power) wire to the otherwise unoccupied pin next to the black (Ground) wire. However, DO NOT attach both USB power (i.e. the round port at the opposite end of the board) and serial power at the same time! Thankfully, it seems like the serial cords are wired to self-destruct when this happens (you can guess how I figured this out). You risk frying your board, though.
To connect to it from OpenBSD:
cu -s 115200 -l /dev/ttyU0
If this doesn’t work, check that the device is correct using dmesg(8).
It could be any dev/ttyU*.
If you’re doing OS or embedded development, the board is likely to panic
at least once in a while. This can corrupt the serial session, so you
may need to kill cu and start a new session before restarting the
board.